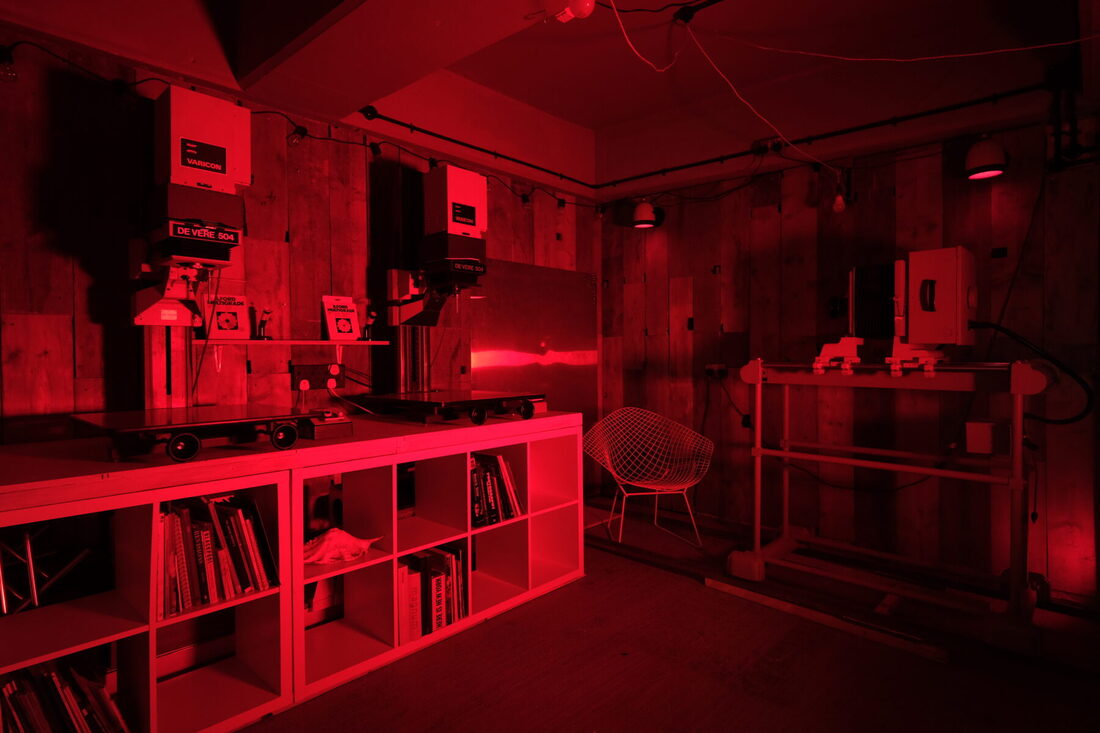
DOCUMENTING DARKROOM EXPERIMENTS
In the darkroom, we learned how to take pictures using enlargers and photographic paper, and how to develop them using chemicals. We also learned how each part of the process worked, such as how the silver nitrate on photographic paper turns black when exposed to white light, as well as what each chemical in the developing process does to the image.
We then experimented with taking photograms of everyday objects by placing them on photographic paper and then exposing the paper under an enlarger. We used objects we found in the classroom, such as Sellotape and scissors, as well as objects we brought in from home, and were encouraged to use transparent objects as well. The objects I brought in and used were my phone case, headphones, my pen case, and my pens. I also experimented with a glass bottle, scissors, Sellotape, and a tube of PVA glue which were all taken from the classroom.
WHAT IS A PHOTOGRAM?
A photogram is a photographic image which is made without using a camera. This is done by arranging objects on a piece of photographic paper and then exposing it to light.
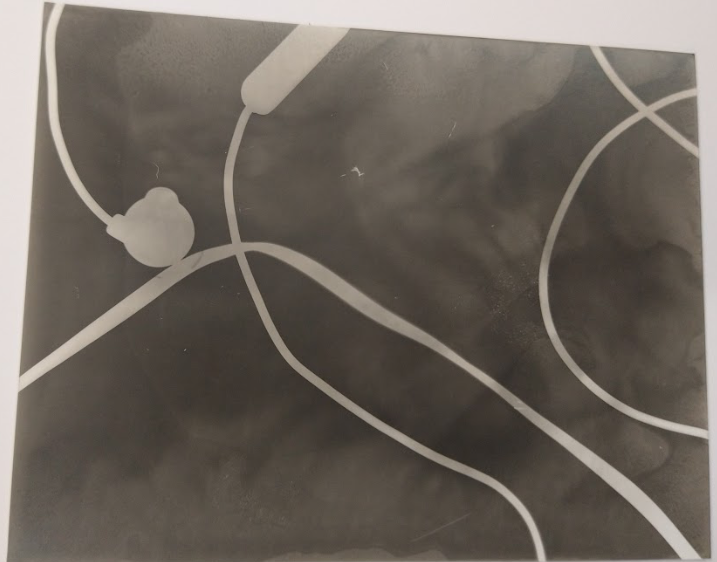
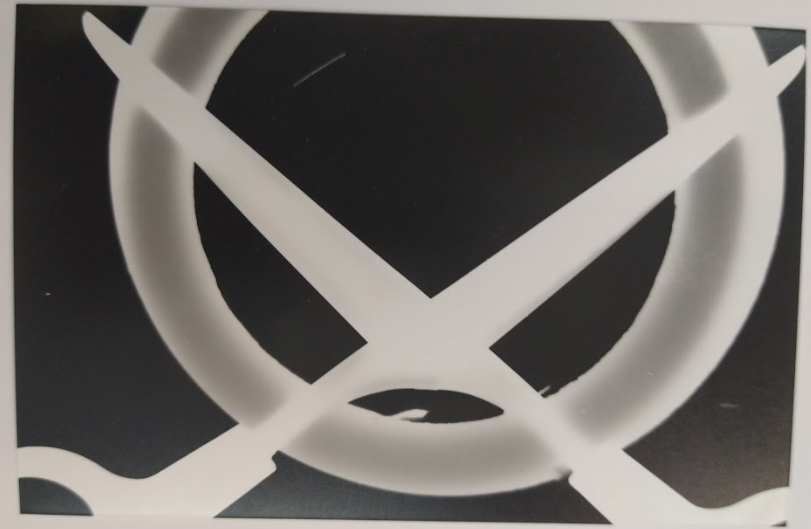
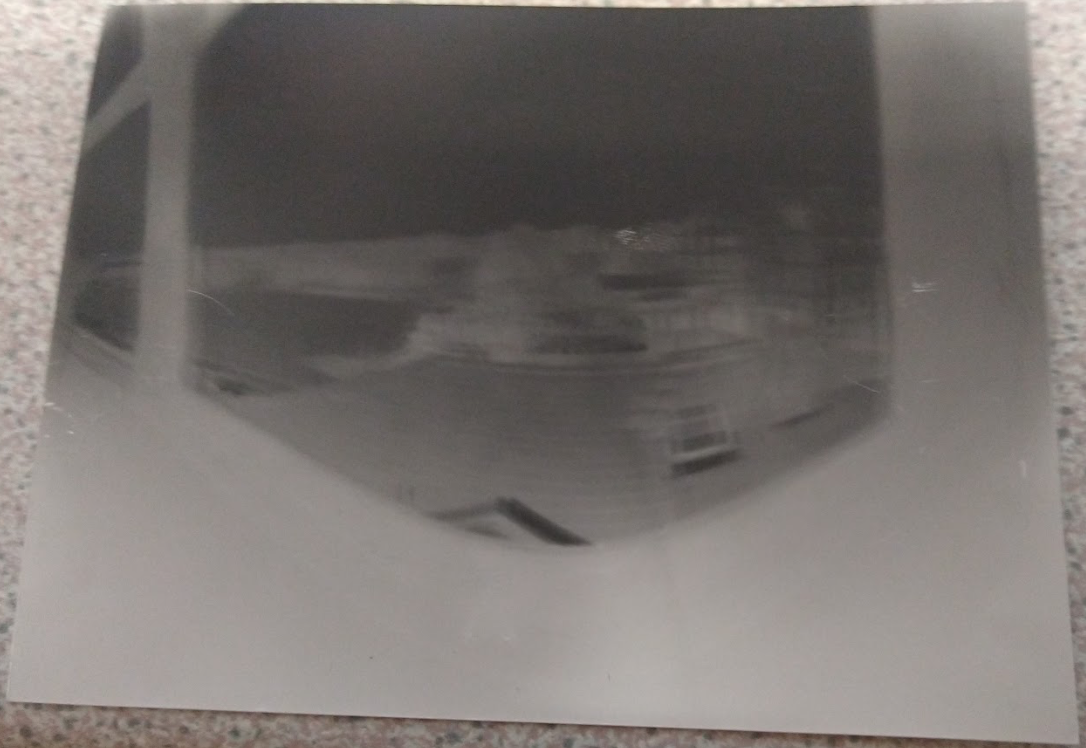
After our initial experiments using objects, we were then tasked with trying out 4 photographic techniques for the darkroom. The techniques were: Multiple/Double exposure, Weaving, Solarization and Sandwich printing.
Multiple exposure is the technique of exposing the paper more than once before developing it. This allows the paper to develop a ghost imprint of a separate image on top of the original one, and display them in the same photogram. The technique is also referred to as double exposure when the paper is only exposed twice. Weaving is the process of cutting up developed photograms so they can be woven together in order to create an image which is a composite of the two. This allows for a lot of creative freedom since the two can be juxtaposed against each other, or be part of a bigger picture. Solarization (also known as the sabbatier effect) is an effect where the tone of an image is wholly or partially reversed, resulting in distinct outlines surrounding the subjects of the image. It is achieved by taking an image which is in the process of developing and exposing it to light again, briefly. Sandwich printing is the technique used to obtain the positive of an image from its negative. It is done by placing the negative of an image on top of blank photographic paper under an enlarger, then using a sheet of glass to sandwich them together before exposing them to light. The resulting image on the blank paper will be the opposite of what is on the negative, thus creating a positive. |
PINHOLE CAMERA
After our darkroom experiments, we were then tasked with making and using pinhole cameras. A pinhole camera is a type of camera which is made of a beer can that has been light proofed save for a single pinhole. This pinhole is covered with a piece of removable black tape and has a piece of photographic paper behind it inside the can. In order to take a picture, one must set up the photo, remove the tape for the desired duration of exposure, then cover it up again and bring it to a darkroom to be developed.
The resulting image will be a negative with a fish-eye effect.
To make a pinhole camera, you need an empty beer can, a pin, masking tape, black duct tape, black vinyl tape, some black card, some scissors, a can opener, a ruler, and a pencil. Using a can opener, you will need to pry the top off a beer can, leaving an empty container. Then you will need to light proofing. First, measure a piece of card against the radius of the can. It needs to be able to wrap around the circumference of the can and fold in over its radius, with room to spare. If it doesn't, you should find a piece that does. Second, using a different piece of card, the beer can, a pencil, and the scissors, mark and cut out a circle of card around the base of the beer can. It will serve as a cap in a later step. Third, you will need to mark and cut strips into the card from the first step to allow it to fold better. Start by using the ruler to mark a line along the width which is the length of the radius away from its edge. Then extend that line all the way across the length, perpendicular to the width. Along this line, make marks which are a centimetre apart, and extend them on the side of the radius to form perpendicular lines. Cut into these lines to create foldable strips, then wrap the card around the can, folding the strips over the top. Stick it in place with a bit of masking tape, then take the circle and stick it on top with the tape. Now you have a lightproof container. On the side of the can, use the pin to make a pinhole and cover it with a bit of vinyl tape. This is the aperture. Now all you have to do is put some photographic paper inside the can and you have a working pinhole camera. The picture is taken when the vinyl tape is peeled off to reveal the pinhole.
Foundation Assessment
A significant number of tasks missing however, I know you worked hard to create prints in the darkroom. Where are they all, do you still have them? The most important part of your weebly is the practical work. Perhaps you focus too much on the writing.
Some good examples of photograms and pinhole images. You clearly know how to manage the chemical process in the darkroom. (AO2 & AO3)
Description of the darkroom processes shows a level of understanding, a shame these are not always accompanied by images. The overview of making the pinhole camera is too long and unnecessary particularly if you have an image of the camera. I also know it took you a long time to write it as you want it to be perfect. (AO3) We need to address the way you prioritise different types of task.